Spoil your furry friend with a cozy, custom-made dog bed without the fuss of sewing! This tutorial demonstrates how to effortlessly create a charming and durable dog bed using a simple upcycled tablecloth and the magic of piping. Forget expensive pet store purchases – you can craft a luxurious resting place for your canine companion using materials you likely already have at home or can easily source affordably. This no-sew method is perfect for beginners, requiring minimal tools and a surprising amount of creative freedom in terms of design and fabric choices.
Transform an old tablecloth into a comfy haven for your beloved pet with just a few simple steps and a touch of ingenuity. We'll guide you through the process of creating professional-looking piping to add a touch of elegance to your DIY masterpiece, resulting in a stylish and incredibly comfortable bed your dog will adore. Ready to get started? Let's dive into the step-by-step instructions below.
Preparation and Safety Guidelines
- Old tablecloth (or thick, machine-washable fabric)
- Cotton fabric for piping
- Bias tape (or make your own)
- Cord
- Sewing machine
- Scissors
- Pins
- Measuring tape
- Stuffing (pillow insert)
- Serger (optional)
- Always supervise your dog while they are using their new bed to ensure they don't chew or ingest any parts of the tablecloth or piping. Ingested fabric can cause intestinal blockages.
- Choose a tablecloth material that is durable, washable, and non-toxic. Avoid using fabrics with loose threads or embellishments that could pose a choking hazard.
- Ensure the piping is securely attached to prevent it from becoming detached and swallowed by your dog.
Step-by-Step Instructions
Prepare the Dog Bed Base
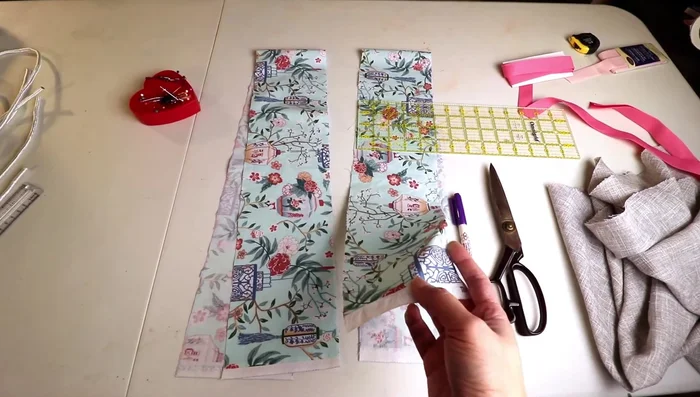
- Cut two circles for the dog bed base. Measure and mark a half-circle on folded fabric, then cut.

Prepare the Dog Bed Base Prepare the Side Piece
- Cut a long rectangular piece for the sides of the dog bed. The length should be the circumference of the circles plus seam allowance. The height is your choice.
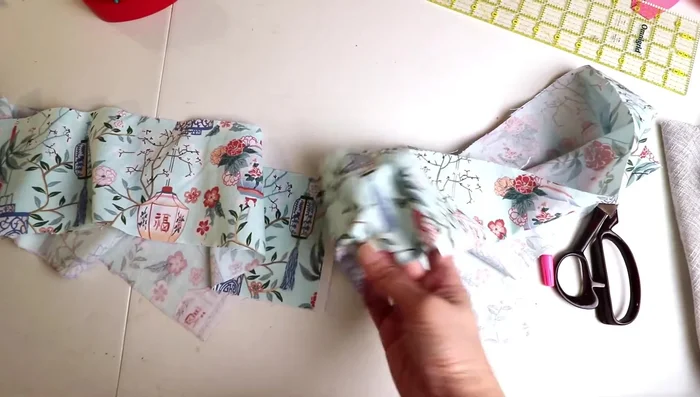
- Finish the edges of the side piece (zigzag stitch or serger).
Prepare the Side Piece Sew the Side Tube
- Sew the side piece into a tube, right sides together.
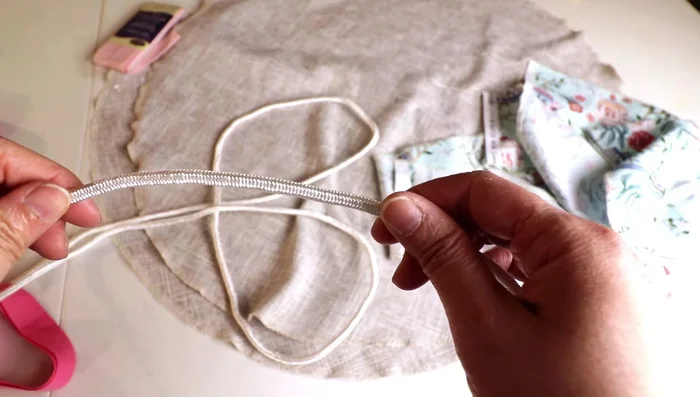
Sew the Side Tube Create Piping
- Insert cord into bias tape, then sew close to the cord.
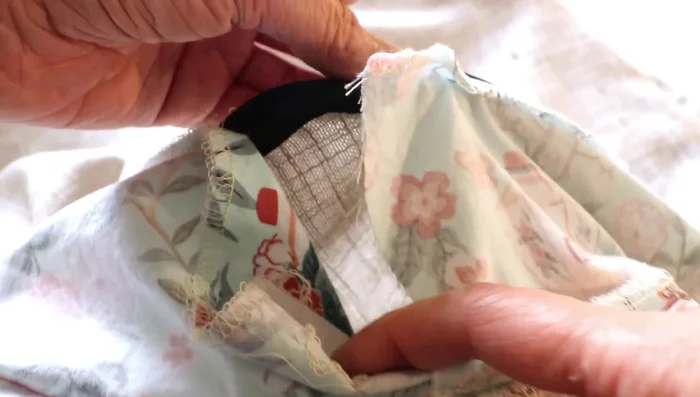
Create Piping Attach Piping and Side to Base
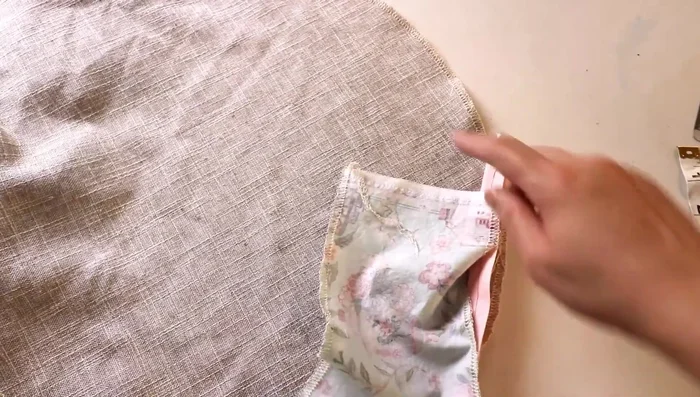
- Attach piping to the base circles and side tube. Pin all three layers together (base, piping, side) right sides facing each other, and sew, keeping close to the piping.
- Leave a gap open to turn the bed right side out.
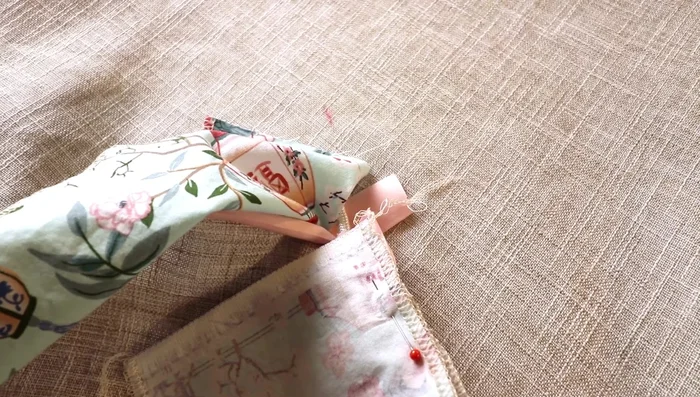
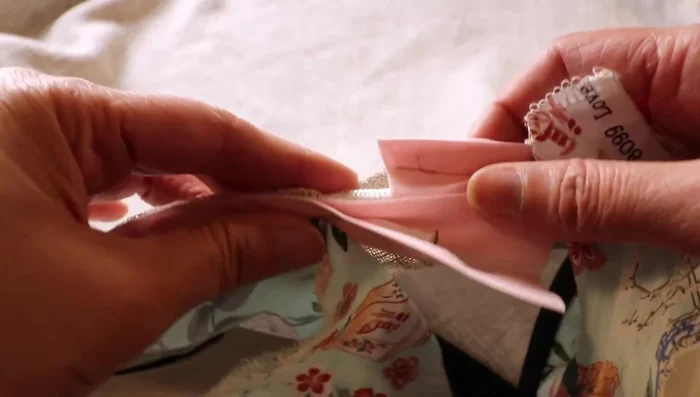
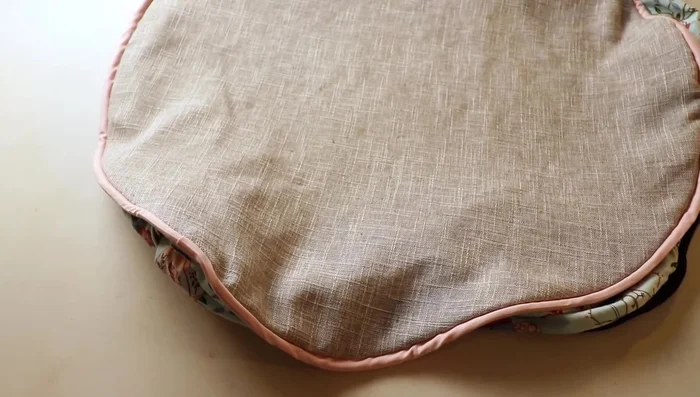
Attach Piping and Side to Base Turn and Close the Piping
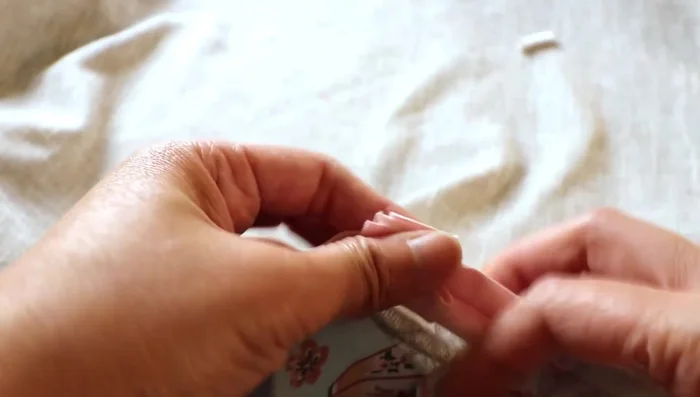
- Turn right side out, and connect the open ends of the piping neatly.
- Fold and finish the raw edges of the open ends.
- Sew the opening closed.
Turn and Close the Piping Stuff and Finish
- Stuff the dog bed and close the remaining opening by hand or machine.
Stuff and Finish

Read more: DIY Glamorous Pet Beds from Upcycled Furniture: A Step-by-Step Guide
Tips
- Use thicker, machine-washable fabric for easy cleaning.
- Tablecloths are a good choice for the base fabric.
- Use a serger or zigzag stitch to finish raw edges to prevent fraying.
- A piping foot makes sewing the piping easier.
- Pin everything well before sewing to ensure even seams.