Give your furry friend the ultimate comfort upgrade with a stylish and sustainable DIY dog bed! Tired of expensive, mass-produced pet beds that lack character and often end up in landfills? This guide shows you how to create a unique and charming dog bed using upcycled materials and the versatile magic of Annie Sloan Chalk Paint™. Transforming old furniture or even repurposed crates into cozy havens for your beloved canine companion is easier than you think, and it's a fantastic way to add a touch of personality to your home while reducing waste.
We'll explore creative ways to repurpose items you may already have, giving them a new lease on life and saving you money in the process. From selecting the perfect base to applying the stunning chalk paint finishes, we'll cover every step of the journey. Ready to get started on your upcycled dog bed masterpiece? Let's dive into the detailed, step-by-step instructions below.
Preparation and Safety Guidelines
- Annie Sloan Chalk Paint (various colors)
- Paint brushes
- Pine wood
- Stain (to make unfinished wood look reclaimed)
- Stencils
- Sandpaper
- Upholstery Fabrics
- Mattress materials
- Sewing machine (or help from someone who sews)
- Dark wax
- Gold gilding
- Ensure all paint used is non-toxic and pet-safe once dry. Thoroughly research the paint's ingredients and manufacturer's recommendations for pet safety before starting.
- Allow the paint to cure completely before letting your dog near the bed. This usually takes several days to a week, depending on paint type and environmental conditions.
- Avoid using strong chemicals or harsh cleaners to clean the upcycled dog bed, as these could be harmful to your pet if ingested or absorbed through their skin. Use pet-safe cleaning products only.
Step-by-Step Instructions
Prepare the Wooden Base
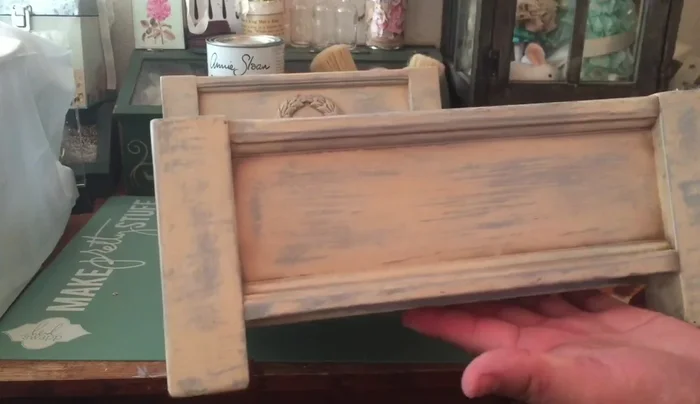
- Use pine wood and apply a stain to give it a reclaimed wood look. This stain is available at Bloom stores.

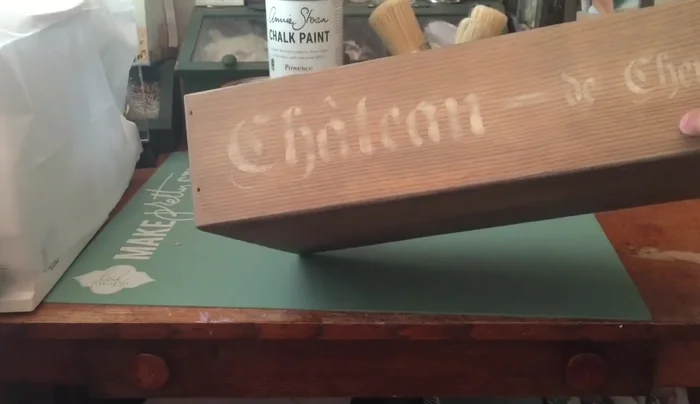
Prepare the Wooden Base Apply Chalk Paint and Distress
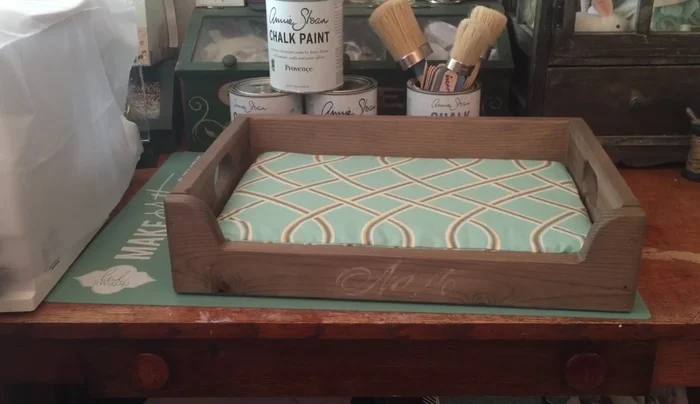
- Apply Annie Sloan Chalk Paint (Old White) over the stained wood and use a stencil (Chateau) to add a design. Lightly sand to distress the paint and create a vintage look.
Apply Chalk Paint and Distress Create the Mattress
- Handmade mattresses are recommended (the speaker's mom helped). They should be 2 inches thick and made with high-quality upholstery fabrics. Add zippers for easy cleaning.
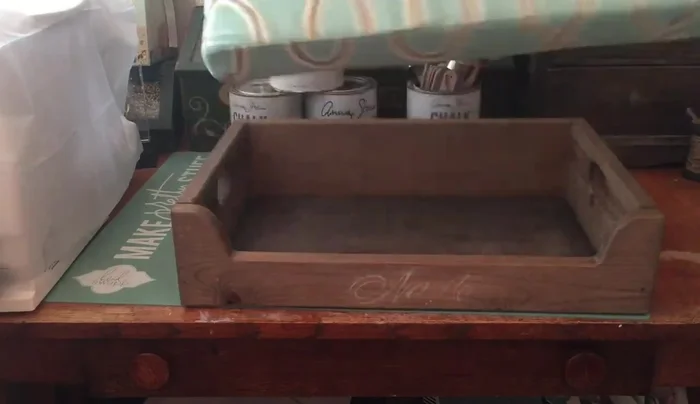
Create the Mattress Assemble the Dog Bed
- Attach the mattress to the wooden base.
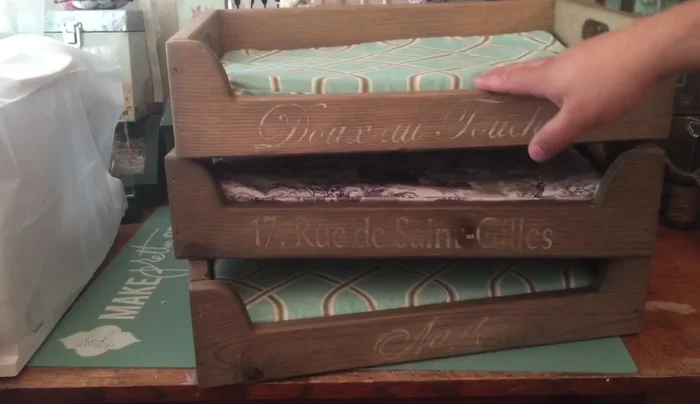
Assemble the Dog Bed Alternative Distressing (Two-Tone)
- For a more vintage look on the dog bed, use multiple colors of chalk paint (Louis blue and old white) with dark wax glazing.
Alternative Distressing (Two-Tone) Advanced Distressing (Layered)
- For extra aged look, layer graphite chalk paint first, then apply country gray chalk paint, followed by distressing and waxing.
Advanced Distressing (Layered)
Read more: DIY Glamorous Pet Beds from Upcycled Furniture: A Step-by-Step Guide
Tips
- Don't just sand randomly; focus your sanding on areas where wear and tear would naturally occur to make the distressed look realistic.
- Use high-quality materials for a long-lasting and durable dog bed.